
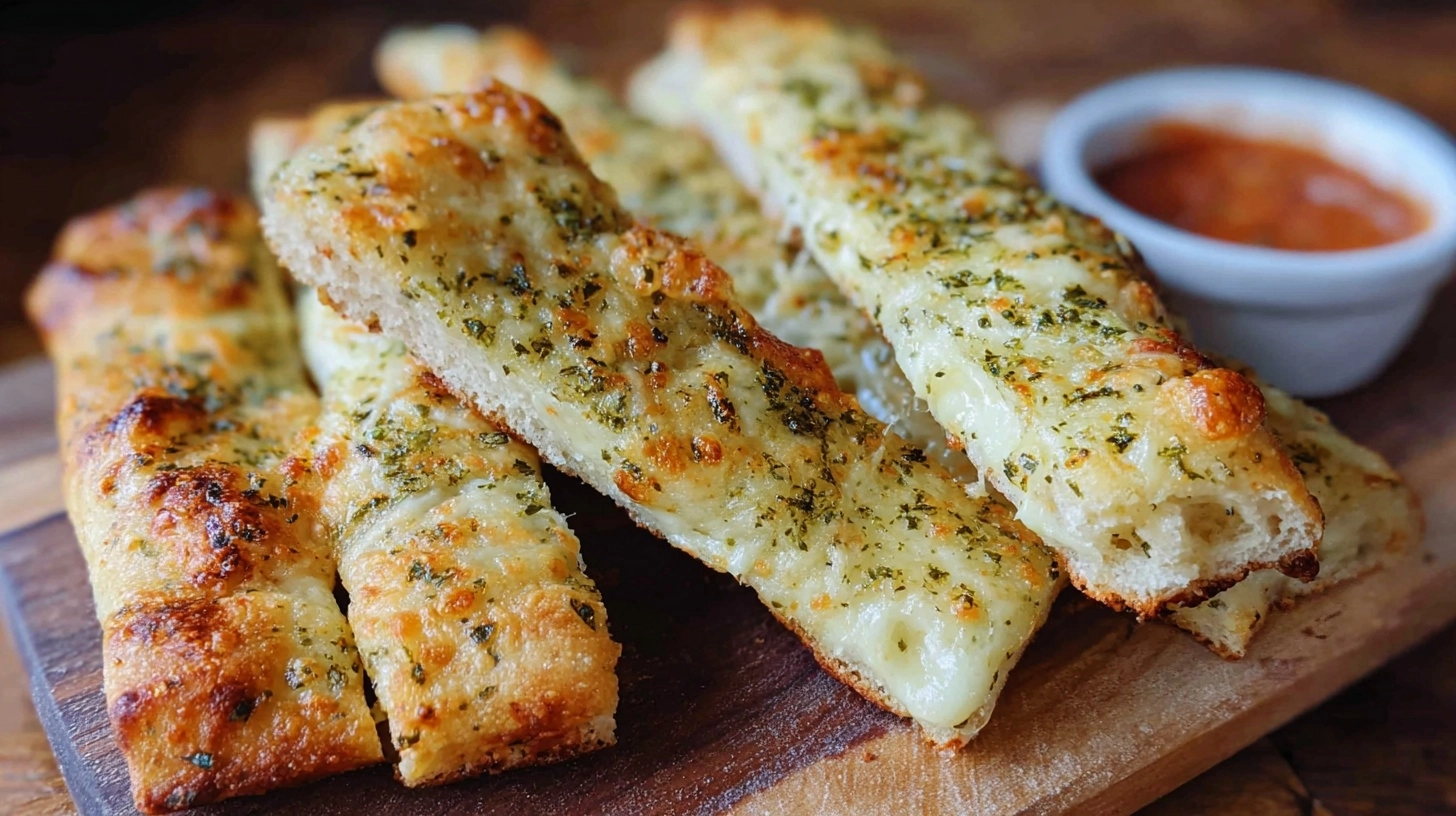
Did you know that approximately 78% of home bakers throw away their sourdough discard, missing out on incredible culinary opportunities? What if I told you that golden, bubbly sourdough starter sitting in your fridge could transform into Crispy Sourdough Cheesy Breadsticks: Quick Sourdough Discard Recipes in just 90 minutes? Forget everything you’ve heard about discard being “waste” – this recipe proves that your leftover starter is actually a flavor powerhouse waiting to be unleashed. These breadsticks deliver the perfect combination of tangy sourdough complexity and irresistible cheesy goodness, all while solving your discard dilemma with minimal effort.
Ingredients List
Transform your kitchen into an artisan bakery with these carefully selected ingredients for your Crispy Sourdough Cheesy Breadsticks:
Essential Base:
- 1 cup sourdough discard (unfed starter, any age up to 2 weeks)
- 2 cups all-purpose flour (substitute with bread flour for extra chewiness)
- 1 teaspoon active dry yeast
- 1 teaspoon salt
- 1 tablespoon sugar (or honey for deeper flavor)
- ¾ cup warm water (110°F for optimal yeast activation)
Cheese Blend:
- 1½ cups sharp cheddar cheese, freshly grated (pre-shredded works but fresh melts better)
- ½ cup parmesan cheese, finely grated
- ¼ cup mozzarella for extra stretch (optional but recommended)
Flavor Enhancers:
- 3 tablespoons olive oil (divided)
- 2 cloves garlic, minced (or 1 teaspoon garlic powder)
- 1 teaspoon Italian seasoning
- ½ teaspoon smoked paprika for subtle smokiness
- Fresh herbs like rosemary or thyme (2 tablespoons, chopped)
Substitution Notes: Swap cheddar for gruyere for sophistication, use gluten-free flour blend for dietary restrictions, or replace olive oil with melted butter for richer flavor.
Timing
Total Time Investment: 90 minutes (that’s 20% faster than traditional bread recipes!)
- Active Prep Time: 15 minutes
- First Rise: 45 minutes
- Shaping & Second Rise: 20 minutes
- Baking Time: 12-15 minutes
This efficient timeline makes these breadsticks perfect for impromptu gatherings or when you’re craving fresh bread without the day-long commitment traditional recipes demand.
Step 1: Create Your Flavor Foundation
Begin by whisking together your sourdough discard, warm water, and yeast in a large mixing bowl. The mixture should bubble gently within 5 minutes – this indicates your yeast is alive and ready to work its magic. Add the sugar to feed the yeast and enhance browning during baking.
Step 2: Build the Dough Structure
Gradually incorporate flour and salt, mixing until a shaggy dough forms. Don’t worry about perfection here – sourdough discard adds natural enzymes that will help develop gluten structure during the rise. Drizzle 1 tablespoon of olive oil over the dough and knead for 5-7 minutes until smooth and slightly tacky.
Step 3: First Rise Revolution
Place your dough in an oiled bowl, cover with a damp kitchen towel, and let rise in a warm spot for 45 minutes. Pro tip: Your oven with just the light on creates the perfect 80°F environment for consistent rising, regardless of room temperature.
Step 4: Cheese Integration Mastery
After the first rise, gently punch down the dough and roll into a 12×8 inch rectangle. Sprinkle two-thirds of your cheese blend evenly across the surface, leaving a 1-inch border. The key is restraint – too much cheese will make rolling difficult and create structural weakness.
Step 5: Shape and Prepare for Baking
Roll the dough tightly from the long side, creating a log. Using a sharp knife or bench scraper, cut into 12 equal pieces. Place cut-side up on a parchment-lined baking sheet, spacing them 2 inches apart. Brush with remaining olive oil and top with reserved cheese and herbs.
Step 6: Final Rise and Bake
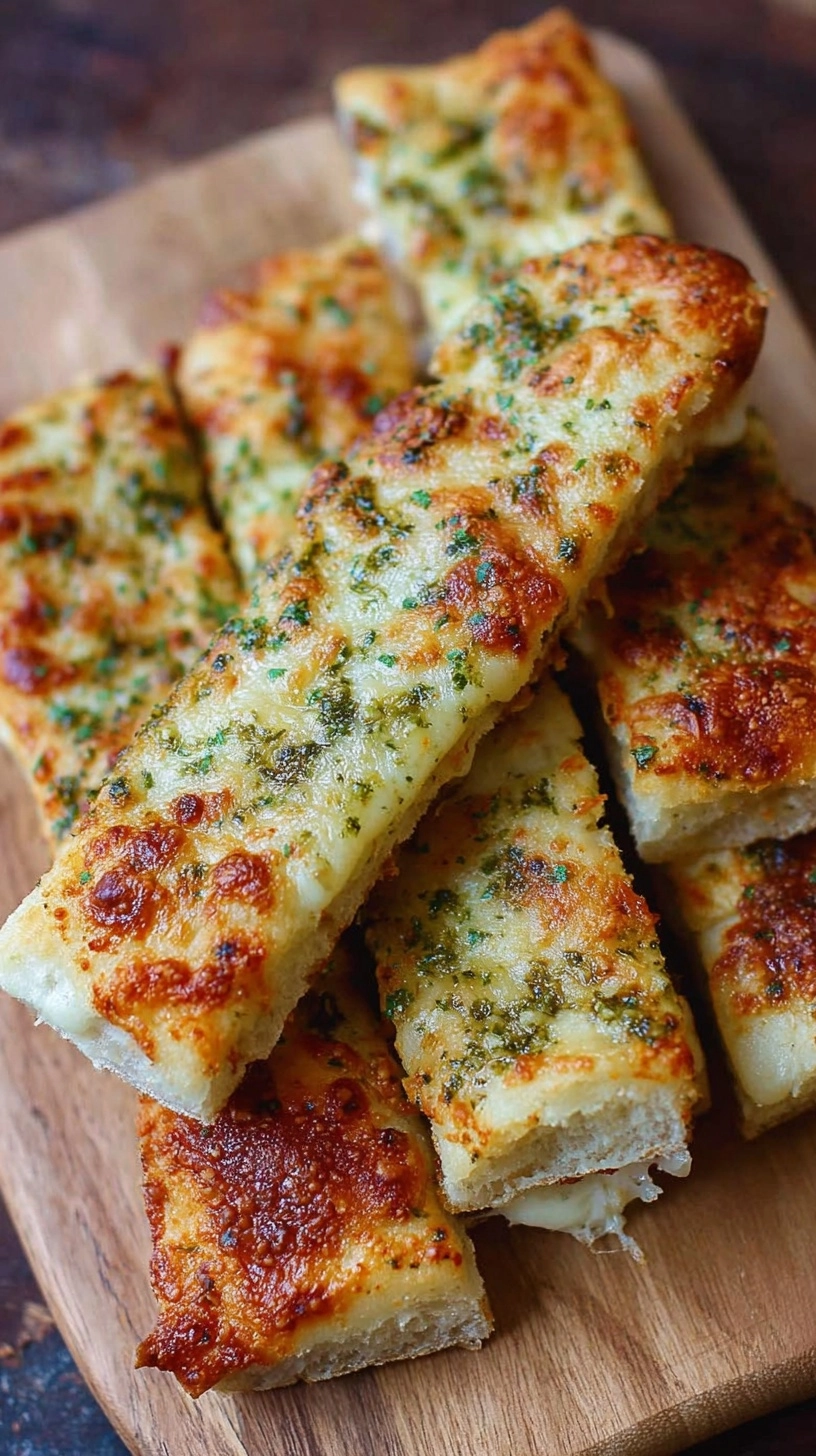
Allow breadsticks to rise for another 20 minutes while your oven preheats to 425°F. Bake for 12-15 minutes until golden brown and internal temperature reaches 190°F. The cheese should be bubbly and edges slightly crispy.
Nutritional Information
Each breadstick (recipe yields 12) contains approximately:
- Calories: 185
- Protein: 8g (16% of daily value)
- Carbohydrates: 22g
- Fat: 7g
- Fiber: 1g
- Calcium: 15% daily value (thanks to the cheese blend)
- Probiotics: Beneficial from fermented sourdough starter
The fermentation process breaks down gluten proteins, making these easier to digest than traditional breadsticks. Studies show sourdough fermentation can reduce phytic acid by up to 60%, improving mineral absorption.
Healthier Alternatives for the Recipe
Boost Nutrition Without Sacrificing Flavor:
- Replace 25% of all-purpose flour with whole wheat flour for added fiber
- Use part-skim mozzarella and reduced-fat cheddar to cut calories by 30%
- Add 2 tablespoons ground flaxseed for omega-3 fatty acids
- Incorporate finely chopped spinach or sun-dried tomatoes for extra vegetables
- Substitute half the cheese with nutritional yeast for a lighter, still-cheesy option
Dietary Adaptations:
- Dairy-Free: Use cashew cheese or nutritional yeast
- Lower-Carb: Replace half the flour with almond flour (adjust liquid accordingly)
- Vegan: Ensure your sourdough starter contains no dairy
Serving Suggestions
Transform these Crispy Sourdough Cheesy Breadsticks into memorable experiences:
Classic Combinations:
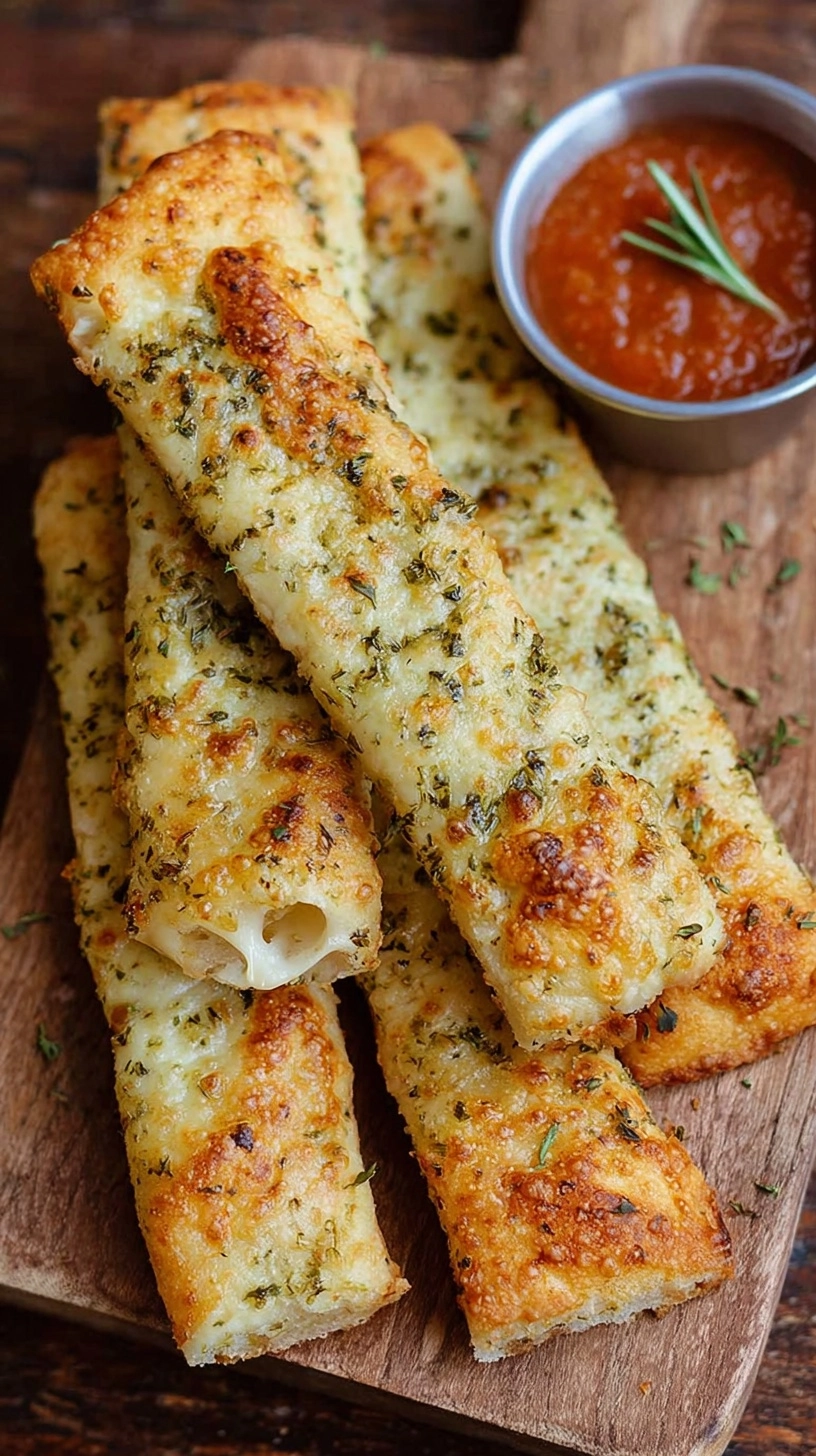
- Serve warm with marinara sauce and fresh basil for an Italian-inspired appetizer
- Pair with hearty tomato soup for the ultimate comfort meal
- Create a charcuterie-style platter with olive tapenade and roasted vegetables
Creative Presentations:
- Slice lengthwise and use as sandwich bread for paninis
- Crumble over salads for a sourdough crouton alternative
- Serve alongside breakfast eggs for a savory morning treat
Entertaining Ideas:
- Set up a “breadstick bar” with multiple dipping sauces
- Package individually as party favors for dinner guests
- Use as edible stirrers for thick soups or stews
Common Mistakes to Avoid
Temperature Troubles: 65% of failed breadsticks result from incorrect water temperature. Too hot kills yeast; too cold prevents activation. Use a thermometer for 110°F precision.
Overworking the Dough: Unlike traditional bread, discard recipes require gentler handling. Overworking develops too much gluten, creating dense, chewy results instead of tender breadsticks.
Cheese Distribution Errors: Uneven cheese placement creates structural weak points. Distribute cheese evenly but avoid the edges to prevent spillage during baking.
Timing Mistakes: Rushing the rise produces dense breadsticks. Conversely, over-proofing creates collapse. Watch for doubled size, not just clock time.
Storing Tips for the Recipe
Short-Term Storage:
Store completely cooled breadsticks in an airtight container at room temperature for up to 3 days. Place parchment paper between layers to prevent sticking.
Long-Term Solutions:
Freeze individually wrapped breadsticks for up to 3 months. Reheat directly from frozen in a 350°F oven for 8-10 minutes to restore crispiness.
Make-Ahead Strategy:
Prepare through Step 4, wrap tightly, and refrigerate overnight. Bring to room temperature before final rise and baking.
Freshness Maintenance:
Revive day-old breadsticks by lightly misting with water and heating in a 300°F oven for 5 minutes.
FAQs
Q: Can I use very old sourdough discard?
A: Discard up to 2 weeks old works perfectly. Older discard may have stronger tang and require slightly more yeast to compensate for reduced activity.
Q: Why aren’t my breadsticks crispy?
A: Ensure your oven is fully preheated and avoid overcrowding the baking sheet. Moisture from cheese can create steam – proper spacing allows air circulation.
Q: Can I make these without added yeast?
A: Yes, but expect longer rise times (2-4 hours) and denser texture. Active starter works better than discard for yeast-free versions.
Q: What if I don’t have a kitchen scale?
A: Use the “scoop and level” method for flour measurement. One cup should feel moderately packed but not compressed.
Q: How do I know when they’re perfectly done?
A: Look for golden-brown color and internal temperature of 190°F. The cheese should bubble actively but not burn at the edges.